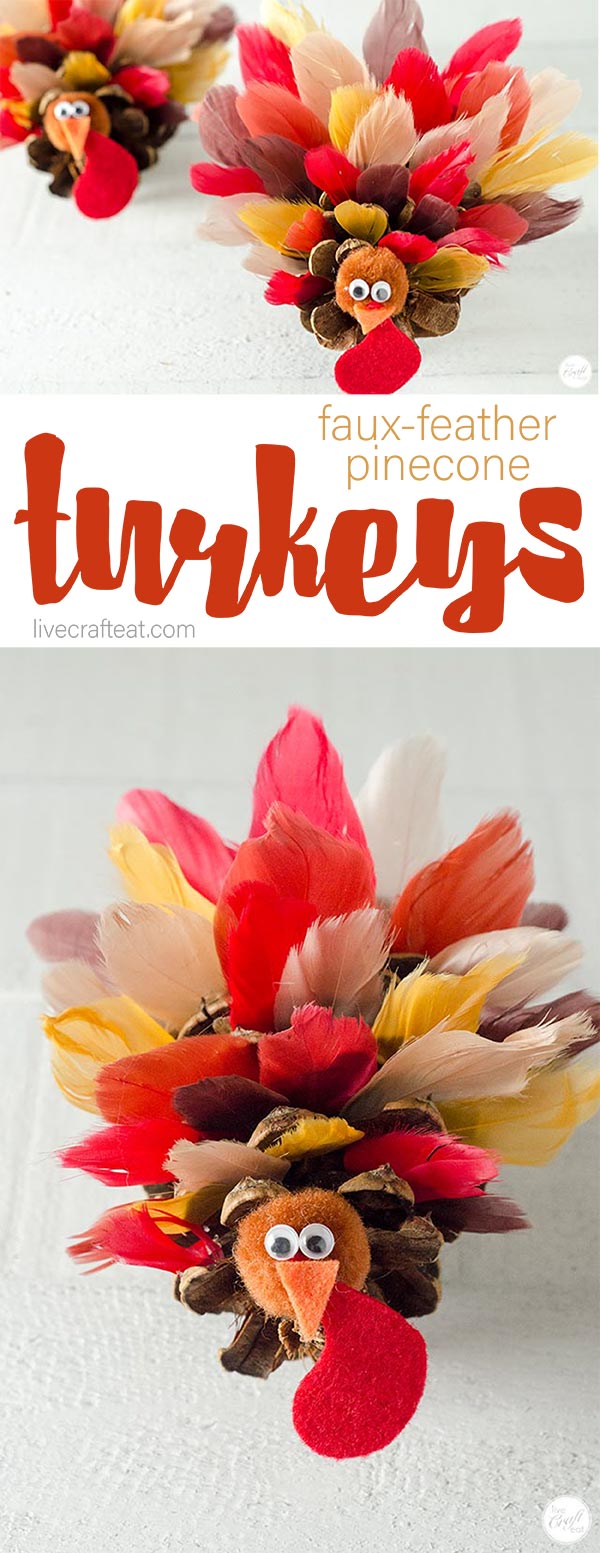
after doing a post about some adorable felt-feathered pinecone turkeys last week, i couldn’t help but make more, but instead of using felt to make the feathers i wanted to try another medium. so while i was walking through the craft store one day i noticed they had these fall-colored “silk” feathers (“faux” feathers??) for just a couple of bucks and i thought they would be perfect for trying on another pinecone turkey!
i think these turkeys turned out really cute, and my kids like them because they’re made with feathers, which is more “life-like” for a turkey. ha! so literal.
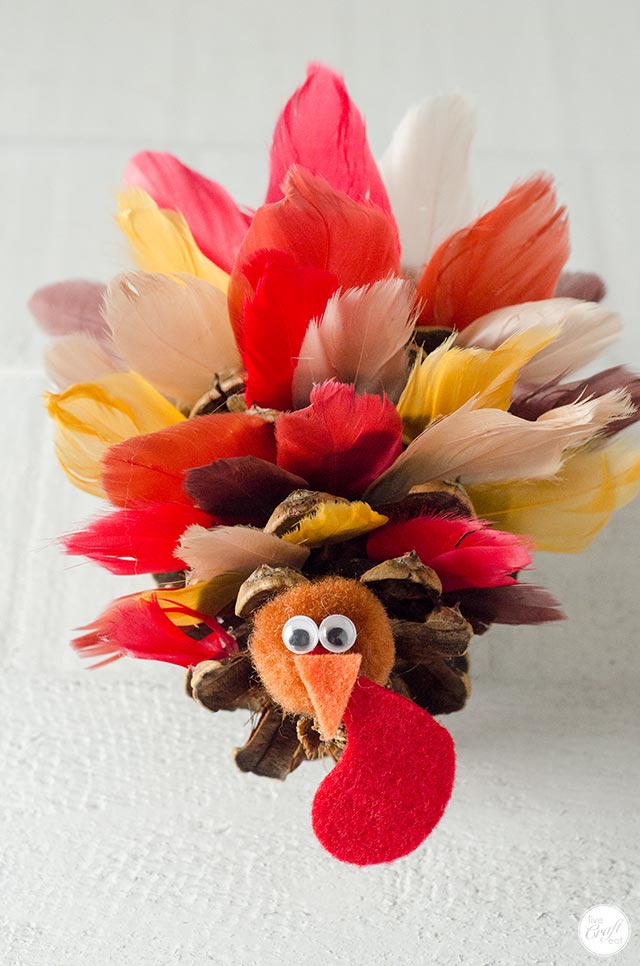
this tutorial is pretty straightforward, but here it is, with a few tips thrown in here and there to help you out.
how to make pinecone turkeys with feathers:::
you’ll need to buy or find some pinecones…if you have to buy them you get bonus point if you can find them scented with cinnamon – yum! if you find some from nature, you get double the bonus points because they’re free!! 😉
you’ll also need a glue gun with some extra glue sticks (aff link). so you’ll need to be careful if kids are helping out – you don’t want them to touch any hot glue with their fingers! ouch! you could use white glue if you wanted to, but with the feathers being so thin, they don’t fit snug/wedge tightly between the pinecone scales so you’d have to hold each individual feather for several minutes while you waited for the white glue to dry.
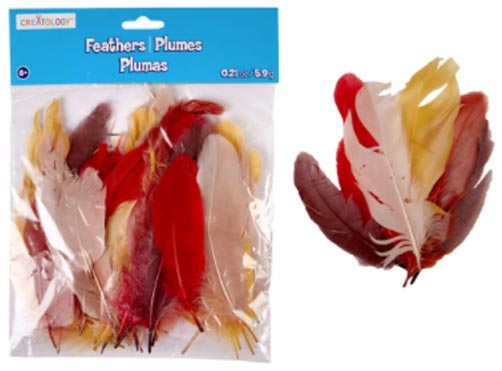
and as for the feathers…you could do any colored “silk” or “faux” feathers you wanted, like these colorful plumes here (aff link), but i think the fall-colored ones are just right for the look i’m going for. i can’t find them on amazon, but i did find them at michael’s craft store and you can get them from michae’s online, too (that’s where the following pic came from), and they were only a couple of dollars. here are the exact ones i used, pictured below:
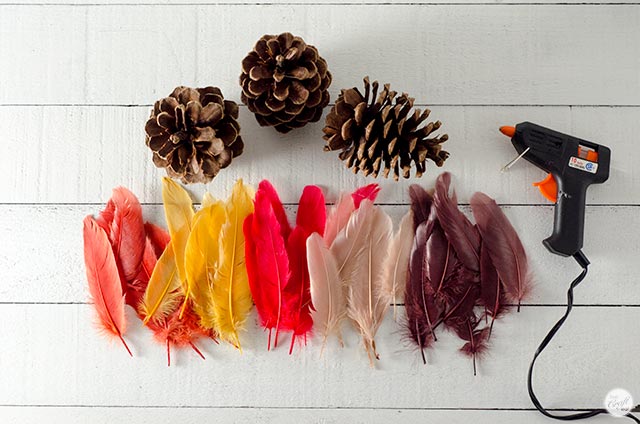
the only other things you’ll need are pom poms for the face, scrap orange and red felt for the beak and waddle, and googly eyes.
ok, now on to making the turkeys….
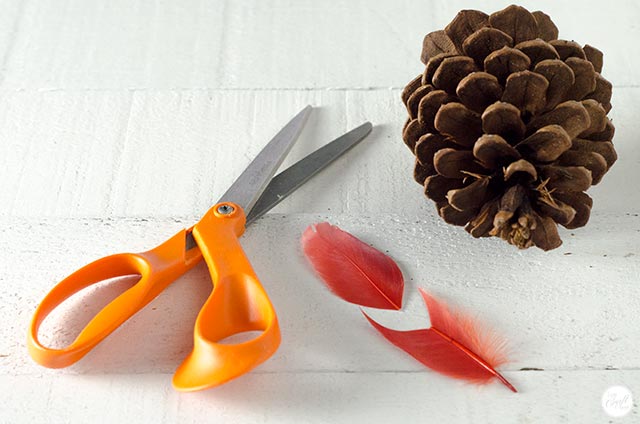
lay the pinecone on its side so it sits steadily and doesn’t roll around. start prepping the feathers to go in the back of the pinecone by making a little snip through the shaft, about halfway up the feather.
arrange the feathers in between the pinecone scales, making sure to vary the colors – you don’t want to have 2 reds next to each other, etc. and make sure the feathers were cut to a good length, i.e. they’re not too tall for the pinecone. if they are too tall, just trim them down to size.
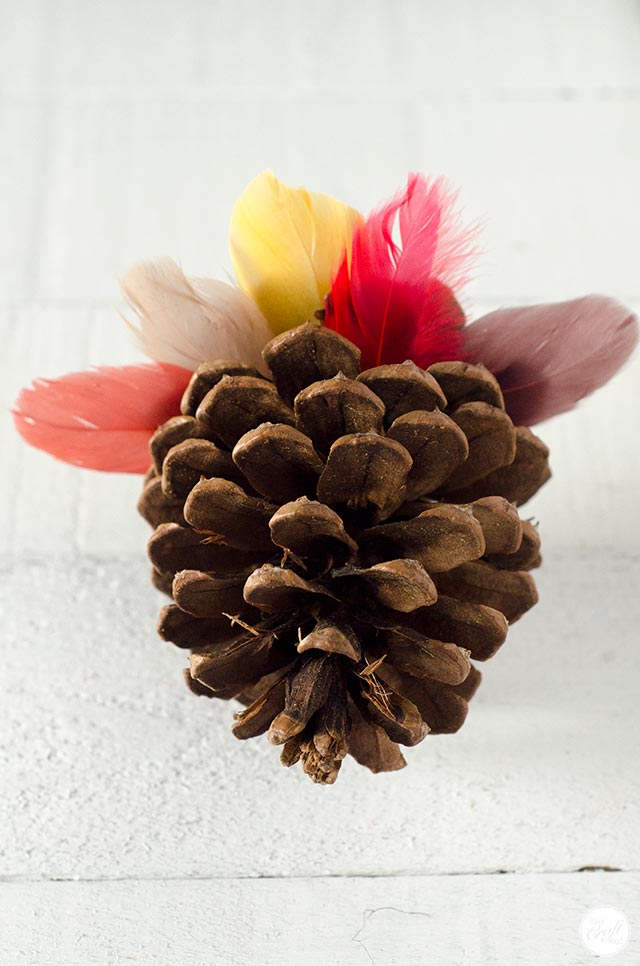
keep going row by row making sure to stagger the colors – but it doesn’t have to be perfect! once you’re happy with how they look, take them out and use a glue gun to place a small dab of hot glue at the bottom of your feather and then quickly (and carefully!) put the feather back into place. use a toothpick or wooden craft stick (aff link) to help you get the feather into place before the glue dries without burning your fingers! when you’re finished gluing the bigger feathers, you’ll want to start cutting off just the tips of feathers to put toward the front of the turkey/pinecone so that their length gradually tapers off by the time you get to where you are going to put the turkey’s face.
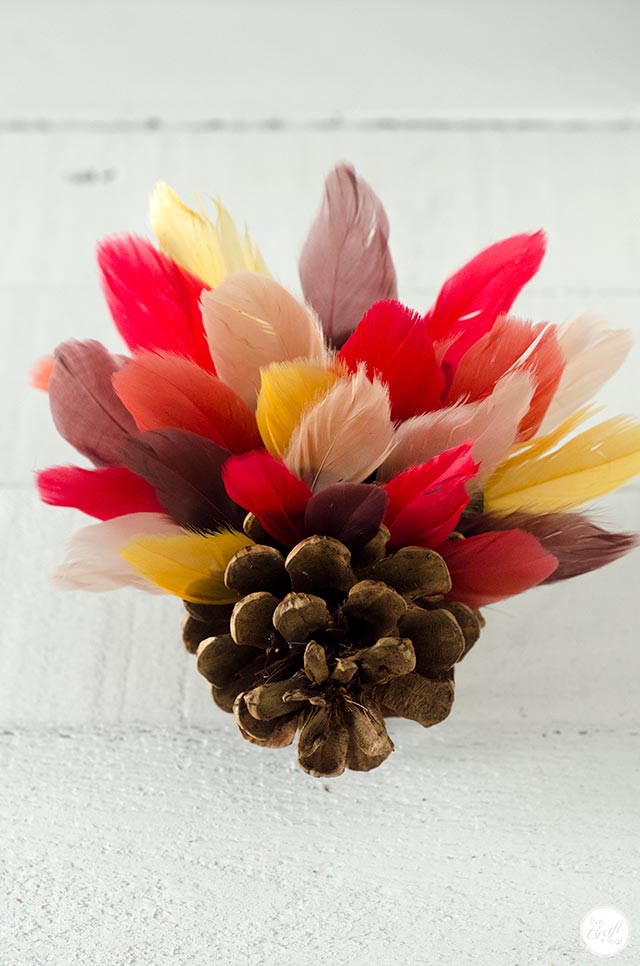
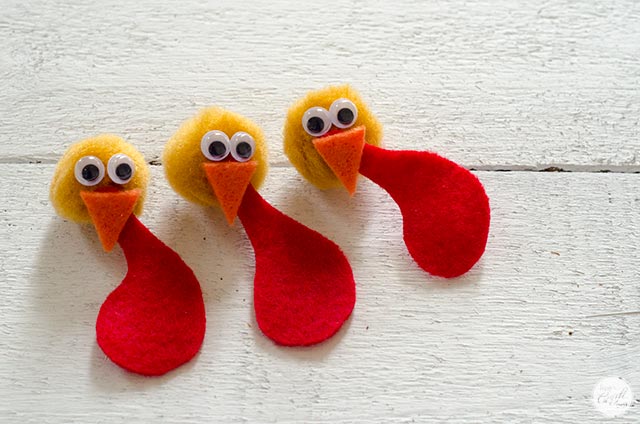
once you have the pinecone filled in with the feathers, it’s time to make the turkey faces! grab a pom pom and glue on some googly eyes. next, cut a small triangle out of a piece of scrap orange felt for the beak. then cut out a waddle out of red felt. it’s just a rounded shape at the bottom with a thinner point at the top. they don’t have to be perfect either. mine are all freehand. every turkey is different! glue the waddle onto the pom pom, and then glue the beak overtop of the waddle.
at the front/top of the pinecone you’ll see a long piece that you’ll need to carefully cut off. i used scissors and it worked just fine. you may want to cut off a couple of the pinecone scales too – we’re just trying to create a space to put on the pom pom face. once you’ve made room for it, go ahead and glue the pom pom onto the front of the turkey. now you’ve got a cute little feather turkey that looks like this:
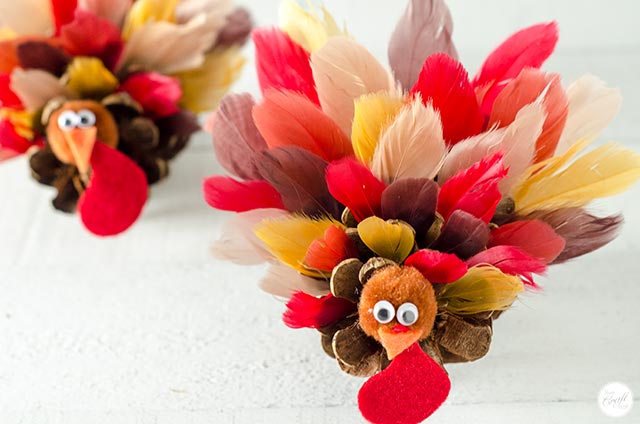
it is going to look oh so festive on your thanksgiving table! these would look great scattered throughout the dishes of food on a table runner, as place card holders, or on a children’s table. seriously so so cute!
i hope you enjoyed this little thanksgiving craft tutorial! if you think others might like this too, please feel free to share the pinterest image below!
happy thanksgiving everyone!!


Another awesome idea!!
thank ya 😀