i don’t know about anyone else, but every year i find myself already thinking about thanksgiving and christmas before halloween is even over! i have to keep reminding myself that we need to get through halloween first, but i couldn’t help myself this year and so i went to the store the week before halloween and bought some pinecones to make some cute little turkeys to act as either decoration or even as place cards on our thanksgiving table this year.
yes, i said i bought pinecones. i know, i can’t believe it either. i wish there were lots of pine trees around where i live now but there just aren’t. growing up we had several pine trees on our property and we would have tons and tons of pinecones to make fun crafts with! but if you end up having to buy pinecones this year like i did, make sure you get the good-smelling ones – they come scented like cinnamon, and i am never opposed to that delicious smell, especially this time of year!!
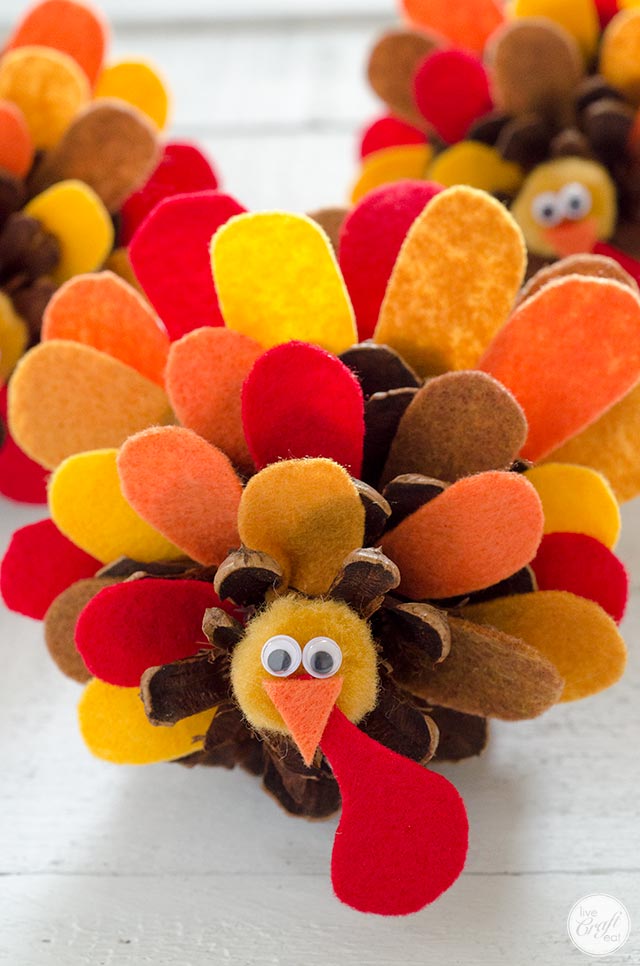
these felt-feathered turkeys are sooo adorable, i simply can’t get over it. and the best part is that they are ridiculously easy to make + the kids can help too! win, win, win! so let’s walk through how to make these gorgeous little pinecone turkeys.
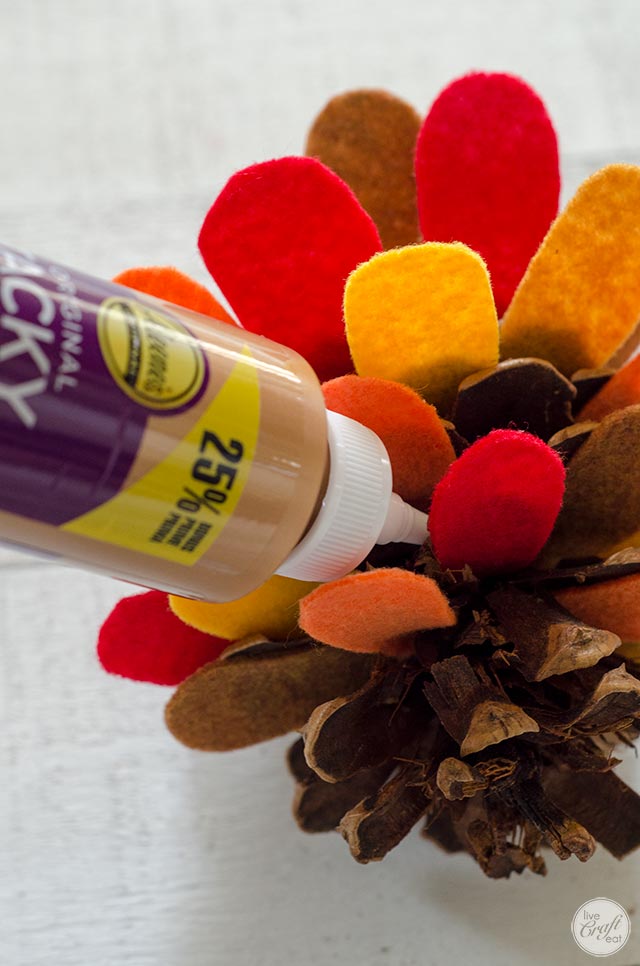
all you need are :: pinecones, sheets of felt in fall colors (reds, browns, yellows, oranges, etc), pom poms in the same colors, googly eyes, fast-drying glue (you could use a glue gun, but if little kids are helping, i’d stick to the white glue like aleene’s tacky glue [aff link], pictured below), and scissors like these fiskars fabric scissors (aff link) – they are sharper than regular scissors and make cutting out the feather shapes a breeze! oh, and either a toothpick or a wooden craft stick (aff link) will be helpful when it comes time to arrange the felt feathers and to glue them in place.

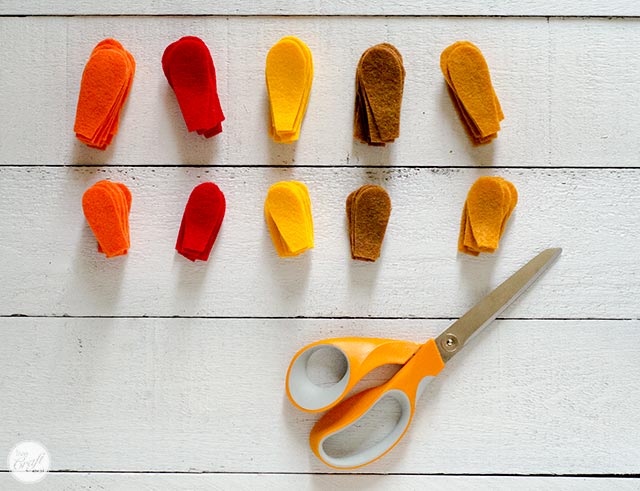
now is the time where you want to cut a whole bunch of feathers in various sizes and colors. this is where it is great to have lots of helpers – it makes the job go much quicker!
i cut a strip of felt slightly taller than the template i was using, and then used that to cut out all the feathers – it fits a lot better in your hand than a whole sheet of felt. also, once you have one feather cut out of felt, you might want to start using that as your new template vs. the paper templates – the felt template will kind of “stick” to the strip of felt you’re using and will stay put better making it easier to cut around.
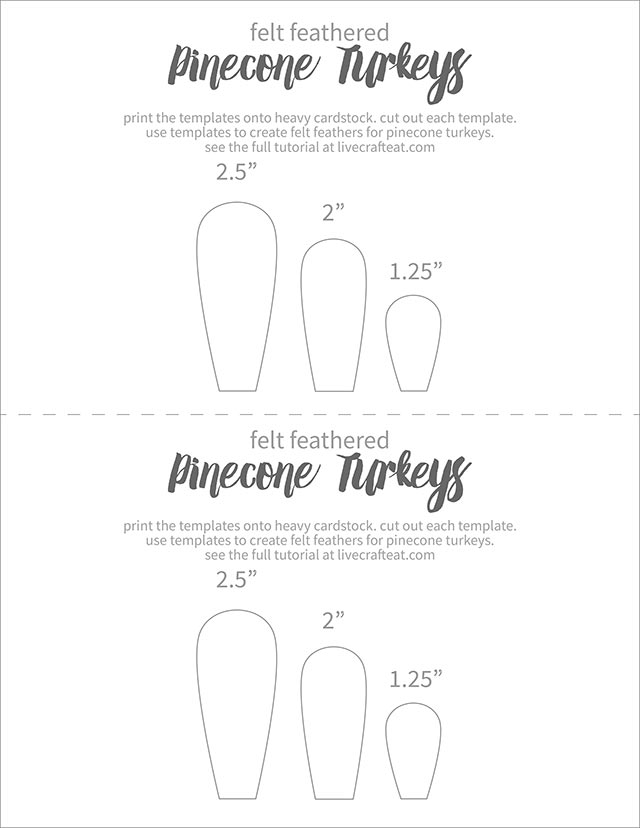
if you want, you can download this free template for the felt feathered pinecone turkey feathers. there are 2 on a page, so if you have more than one person cutting out feathers you only have to print onto one page and then divide the templates. note :: i only used the 2.5″ and the 1.25″ sizes for the feathers on my turkeys, but i added the 2″ one in case you wanted a size in between the two.
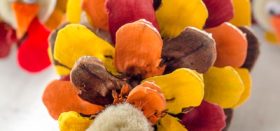
this is where it gets really fun! lay the pinecone on its side and adjust it so it sits well on a flat surface. this it how it’s going to sit when it’s all finished. take the largest felt feathers to use at the back of the pinecone. place them in between the pinecone scales (i think they’re called scales?? i’m going with it…), or “leaves” maybe, using a toothpick or wooden craft stick to get them to go right to the middle of the pinecone/wedge them in between the scales. when you’re arranging them, you want to make sure you’re spreading the colors out evenly, ie. you con’t want 5 red right next to each other or all on the left side of the pinecone. you want to make sure to spread all the colors our evenly across the entire pinecone.
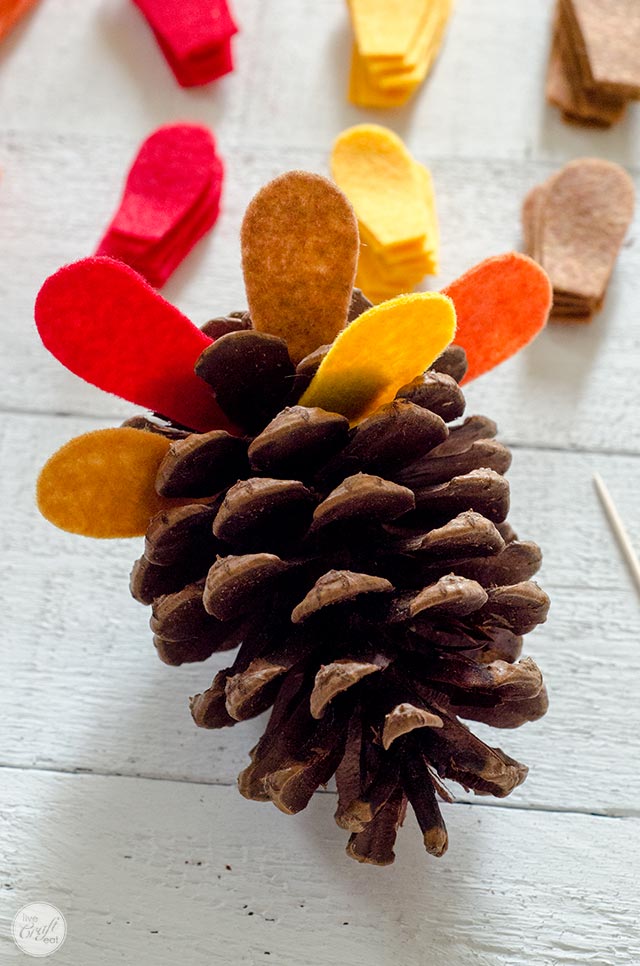
once you’ve done a few rows of the bigger felt feathers, start putting in the medium, or small felt feathers toward the front/tapered end of the pinecone and keep going until they’re it is all filled in nicely, like this ::
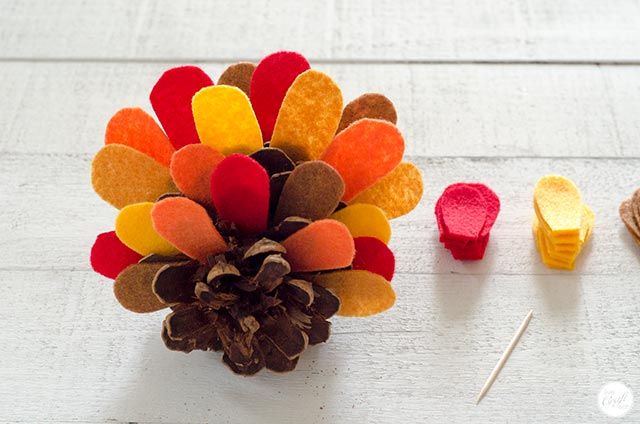
if all the colors and the arrangement of the feathers are how you like them, now is the time to add a dab of glue to the back and toward the bottom of each felt feather, using the toothpick or wooden craft stick to push the felt onto the pinecone’s scales so they will stay in place.
you’re almost done! next, grab a pom pom, some googly eyes, a little bit of scrap orange and red felt. glue the googly eyes onto the pom pom. cut out a triangle beak from the orange felt scraps, and a waddle from the red felt scraps (just a rounded shape with an angled point at the top) and glue those onto the pom pom as well.
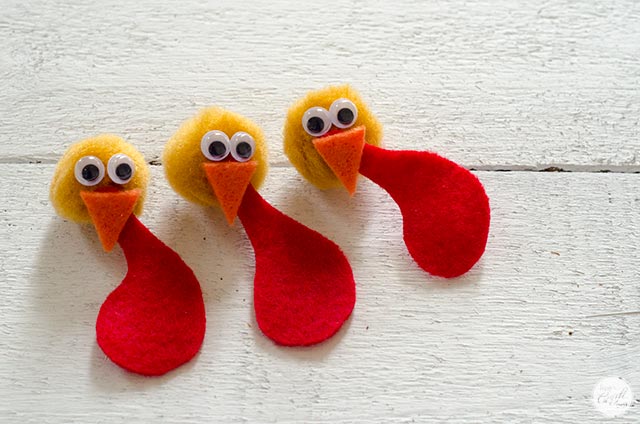
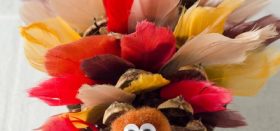
once the turkey’s face is done, it’s time to add it to the turkey’s body! if you look at the top of the pinecone you’ll see a little part that comes out of the top – you’ll want to carefully cut that part off so your pom pom can fit nicely, nestled inside the pinecone scales. put some glue onto the back of the pom pom and place it on the top of the pinecone and hold it there until the glue dries.

voila! you’ve got yourself the cutest, easiest pinecone turkey to bring to your thanksgiving table!
i’ve got a few free printable place setting cards to add to these should you want to use the turkeys as place card holders, and i will post those a few days, but in the meantime, have fun making these felt feathered turkey friends!


Love these turkeys!!
thank you! 🙂
I am trying to make these with my granddaughter and was wondering if anyone knows how many of each color is needed for one Turkey. We are making 10 of them. It would stress make it easier if I knew. I feel like I am cutting more than needed. Thanks so much.
It really depends on how many scales there are on your pinecone + how full you want it to look. Assuming all your pine cones are around the same size I would make one and then multiply the number you used by the number of turkeys you’re going to make. Hope that helps!